 INDUSTRIAL

Materials and process
CO₂ Laser Marking on PET Bottles
How to compare 9.3 μm and 10.2 μm configurations on actual PET bottles and verify readability, bottle-wall integrity and line performance.
On this page
When choosing a CO₂ laser to mark PET bottles, compare the proposed configurations on bottles from the same production lot. Treat 9.3 μm and 10.2 μm as candidates. Confirm that each wavelength, power rating and lens match the machine being tested. Look for a repeatable process that meets code readability and target throughput while keeping changes to the bottle wall within the agreed limits.
1. What rated power leaves out
Code quality depends on the bottle material, optics, motion and control. A clear static sample can stretch or drift at line speed. A code that reads on an empty bottle may be unreliable after filling. Increasing energy to improve contrast can leave a visible depression, and a short trial can miss changes that appear during continuous operation.
2. How to compare 9.3 μm and 10.2 μm
Compare production bottles under the same conditions
Wavelength affects how PET absorbs energy, but bottle formulation, color, recycled content, stretch forming and code position can all change the result. Compare the candidates with the same lot, code and acceptance criteria. Use results from comparable trials when reporting differences in contrast, speed or package performance.
Measure both appearance and readability
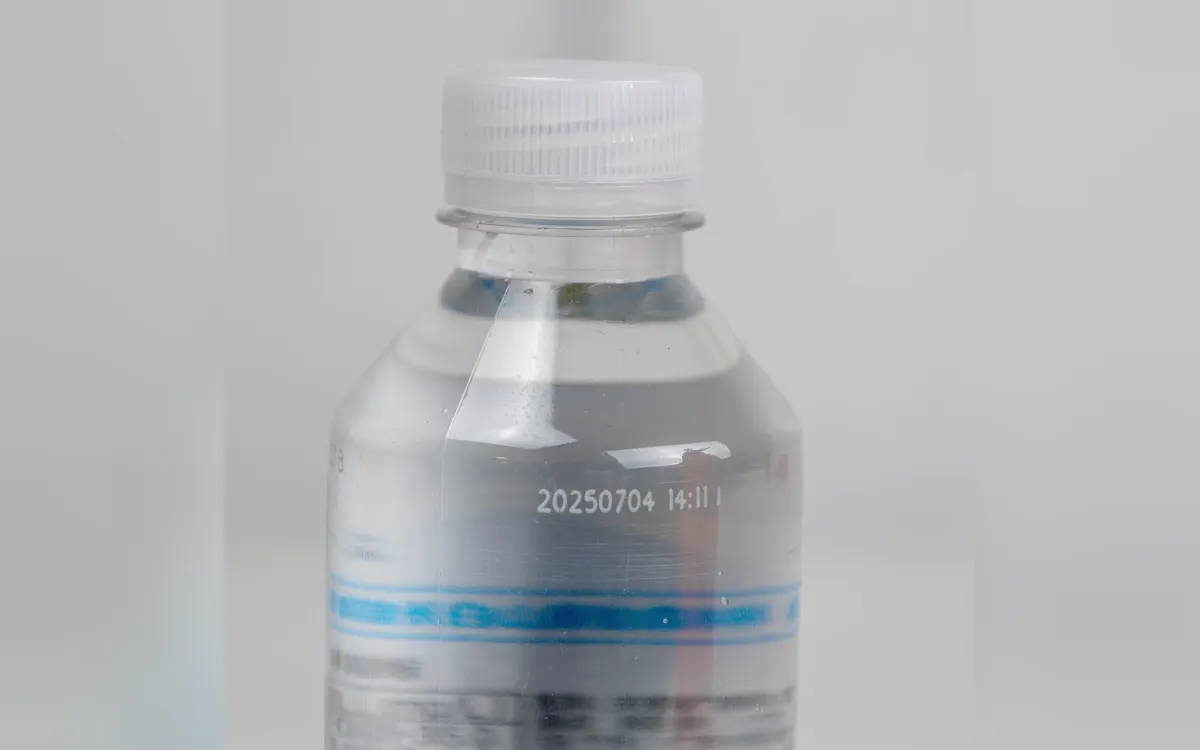
Look at character completeness, stroke width, contrast, depressions and other local changes. A shallow mark should stay readable with minimal effect on the substrate. For clear bottles, use the actual fill, lighting and viewing angle when you check readability.
3. Check bottle-wall integrity separately
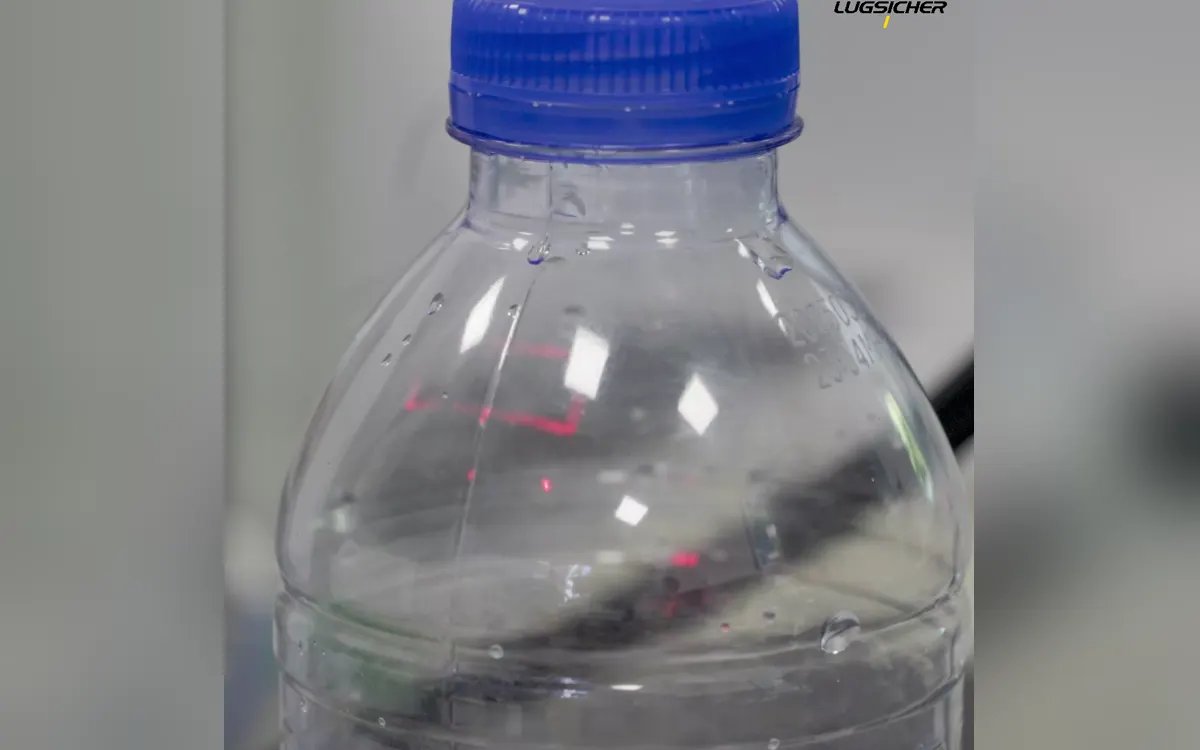
Wall thickness and forming conditions can vary between the shoulder, body and areas around reinforcing ribs. Test the intended marking position and include thinner walls and representative production lots.
- Keep unmarked control bottles. Compare marked and unmarked parts of the same lot.
- Inspect the wall. Look for local thinning, depressions or suspected cracks. Use magnification or section analysis when required by the test plan.
- Verify packaging performance. For carbonated drinks or other pressurized packaging, the packaging quality team should compare marked and unmarked bottles using the agreed performance criteria.
4. Test optics and throughput together
Spot size affects energy density and stroke width. A smaller spot can help with fine characters and increase local heating at the same power. Scan speed, repeated passes and fill spacing also affect heat accumulation. Test the production code at the target line speed, including starts, stops and speed changes.
| What to record | Why it matters |
|---|---|
| Actual line speed, bottle spacing and speed variation | Sets trigger frequency and the time available to mark each bottle. |
| Character size, line count and full 2D code payload | Determines the scan path and marking workload. |
| Marking field, working distance and bottle curvature | Affects focus and mark quality across the field. |
| Bottle movement, rotation and conveyor slip | Affects code placement and character shape. |
5. Validate the proposed configuration
- Agree on acceptance criteria. Specify the code location, readability, inspection conditions, permitted effects on the bottle wall and target throughput.
- Check the configuration and compare the same lot. Hold the code, code position, lighting, reader and scoring rules constant for 9.3 μm and 10.2 μm. Record the model, wavelength, power, field lens and working distance for each trial. Keep unmarked bottles from the same lot.
- Repeat the trial on the line. Validate target speed, starts and stops, speed changes, changeovers and continuous operation. For clear bottles, assess appearance and reading after filling. Run the agreed comparison tests for pressurized packaging.
Same-lot PET wavelength comparison record
Complete a record for each configuration and link the sample photos and source test record. Mark pending checks “Not tested”.
| Record | What to include |
|---|---|
| Bottle and code samples | Bottle type and lot, marking area and wall thickness, empty or filled state, code position, content and size. |
| Machine and running conditions | Model, wavelength, power, field lens, working distance, measured line speed, spacing, continuous run length and start/stop conditions. |
| Marking and reading | Lighting and acceptance criteria, contrast, successful reads and inspected count, plus missed or misplaced codes. |
| Bottle-wall inspection | Local thinning, depressions or cracks compared with unmarked controls. Include pressure test results where applicable. |
The LC130 Series specifications list separate model configurations. Confirm the production model, optics, working distance, cooling and interfaces against the project specification.
6. Include integration and maintenance in acceptance
Verify the photoelectric trigger, encoder feedback and PLC handshake. If the line connects to MES or traceability systems, define content delivery, completion feedback, duplicate and missed codes, and recovery after a network outage.
Test vision inspection and the reject mechanism with actual filled bottles. Include extraction, lens contamination checks, guarding and safety interlocks. For multiple sites, agree on recipe control, spare parts, training and local support with the project supplier.
Decision after validation
Choose the configuration that meets package integrity, code readability and target throughput, then repeat the checks under continuous production conditions. Confirm integration and service requirements before signing off.
Discuss your application with Lugsicher
Tell us the bottle material, code content, target marking position, line speed and interface requirements. Bring samples from the actual production lot.
Request a bottle marking trial